- English
- French
- German
- Portuguese
- Spanish
- Russian
- Japanese
- Korean
- Arabic
- Greek
- German
- Turkish
- Italian
- Danish
- Romanian
- Indonesian
- Czech
- Afrikaans
- Swedish
- Polish
- Basque
- Catalan
- Esperanto
- Hindi
- Lao
- Albanian
- Amharic
- Armenian
- Azerbaijani
- Belarusian
- Bengali
- Bosnian
- Bulgarian
- Cebuano
- Chichewa
- Corsican
- Croatian
- Dutch
- Estonian
- Filipino
- Finnish
- Frisian
- Galician
- Georgian
- Gujarati
- Haitian
- Hausa
- Hawaiian
- Hebrew
- Hmong
- Hungarian
- Icelandic
- Igbo
- Javanese
- Kannada
- Kazakh
- Khmer
- Kurdish
- Kyrgyz
- Latin
- Latvian
- Lithuanian
- Luxembou..
- Macedonian
- Malagasy
- Malay
- Malayalam
- Maltese
- Maori
- Marathi
- Mongolian
- Burmese
- Nepali
- Norwegian
- Pashto
- Persian
- Punjabi
- Serbian
- Sesotho
- Sinhala
- Slovak
- Slovenian
- Somali
- Samoan
- Scots Gaelic
- Shona
- Sindhi
- Sundanese
- Swahili
- Tajik
- Tamil
- Telugu
- Thai
- Ukrainian
- Urdu
- Uzbek
- Vietnamese
- Welsh
- Xhosa
- Yiddish
- Yoruba
- Zulu
How to Properly Install a watertight valve
Installing a watertight valve correctly is fundamental to achieving zero-leakage performance and protecting critical infrastructure from water intrusion. A watertight valve is engineered specifically to maintain fluid containment under hydrostatic pressure while preventing external water from penetrating the valve assembly—especially in submerged or high-humidity environments. Proper installation ensures these valves deliver their rated performance across municipal water systems, marine applications, and industrial facilities where even minor leaks can trigger costly equipment damage or operational shutdowns. Understanding the installation process helps procurement teams and field engineers avoid common pitfalls that compromise system integrity.


Understanding Watertight Valves Before Installation
What Defines a Watertight Valve?
A watertight valve is different from a regular isolation valve because it uses stronger closing technologies to achieve a Rate A (bubble-tight) close according to ISO 5208 standards. Multi-barrier stem sealing systems in these valves—often triple O-ring arrangements or chevron packing—keep both media from escaping and outside water from getting in. The body of the valve usually has an IP68 grade, which means it can handle being submerged in water for a certain amount of time without any damage to the internal parts. Because of this, they are essential in systems that keep ships' ballasts in place, underground pump stations that are prone to flooding, and hydropower plants where maintenance isolation has to hold up against high water pressure.

Common Types and Material Configurations
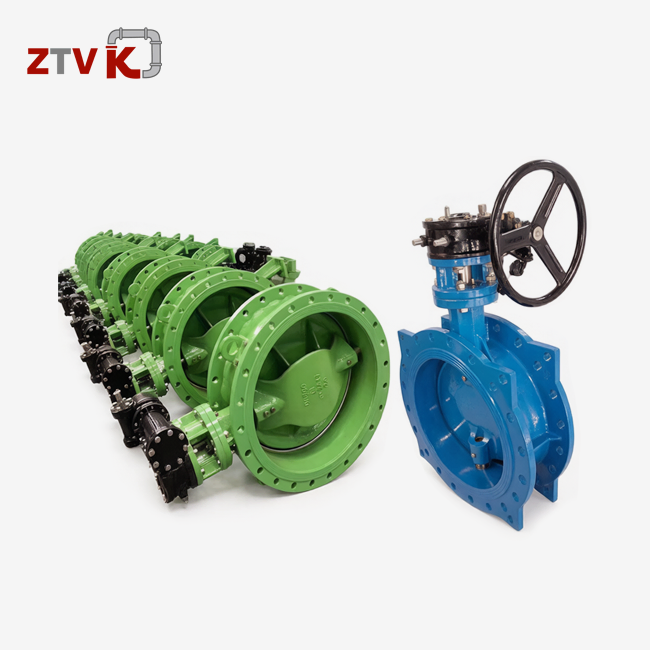
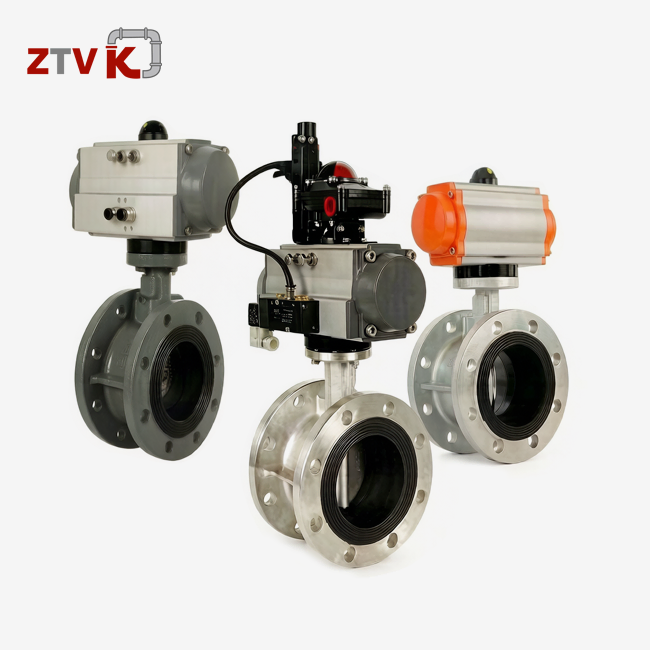
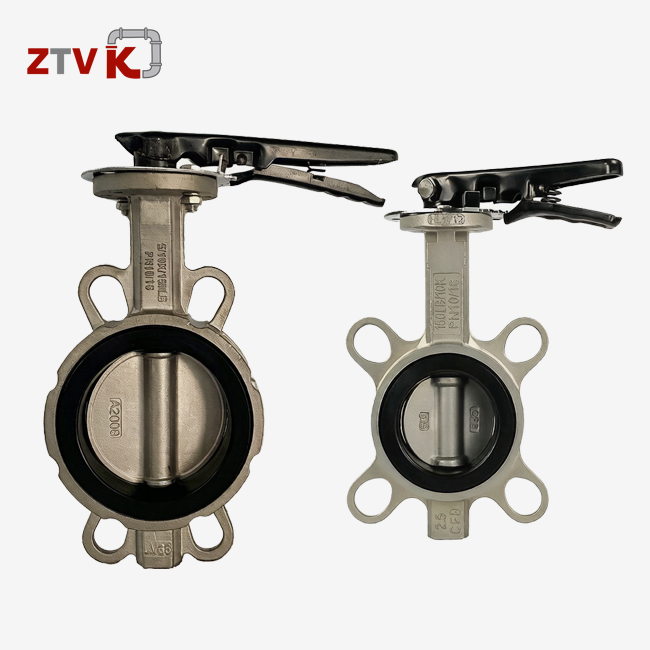
Because they are small and can seal in both directions, butterfly valves with wafer-type links are often used in secure situations. ZTVK makes these in sizes from DN40 to DN1200 (1.5" to 48"), and the body is made of ductile iron (DI/QT450), which gives it great structural strength. The choice of disc material—ductile iron, CF8/CF8M stainless steel, or aluminum bronze—is based on how acidic the working medium is. For freshwater systems, seat materials like EPDM or NBR are strong, while VITON or PTFE can handle harsh chemicals or high temperatures. Connection standards are in line with ISO5211 and cover pressure classes from PN10/PN16 to JIS16K. This makes sure that they work with a wide range of foreign pipe standards.
Operational Control Options
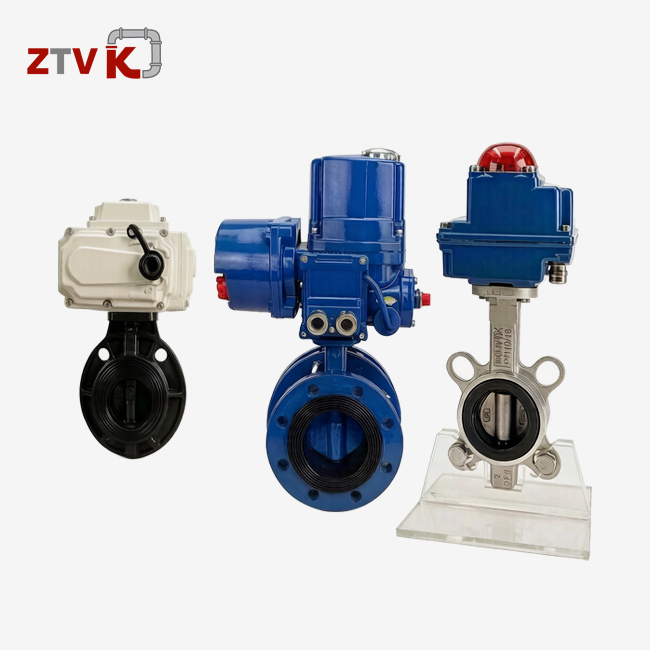
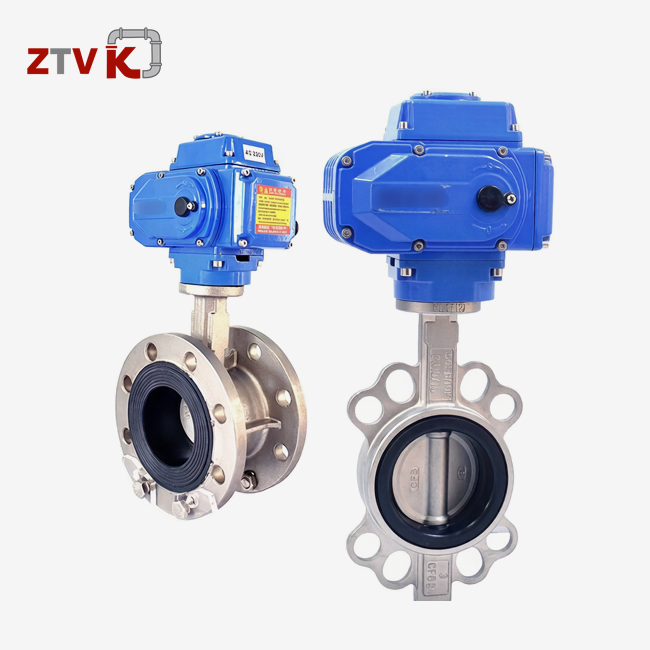
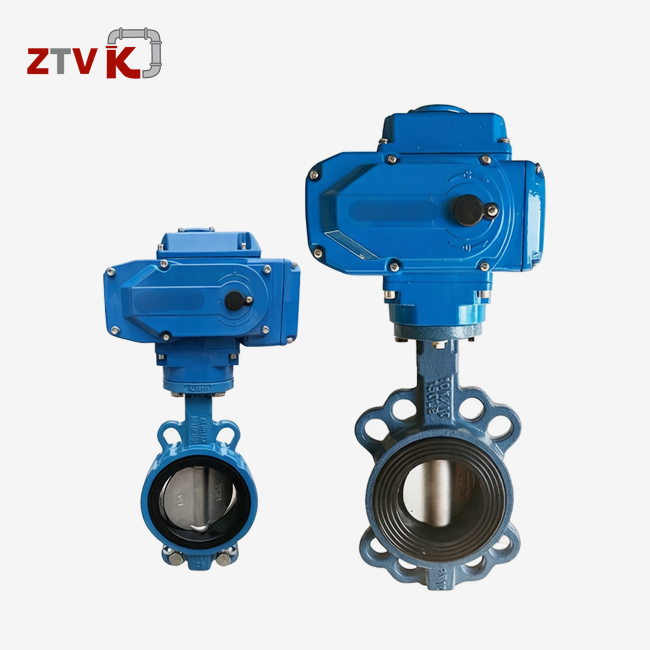
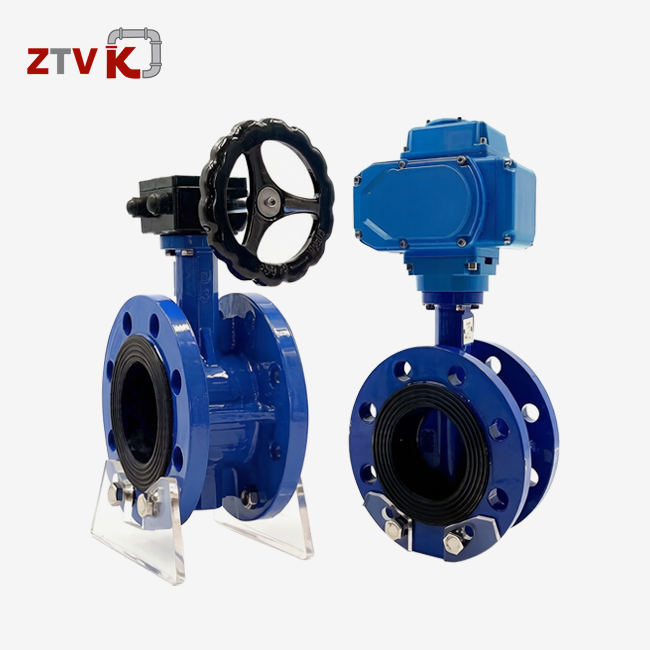
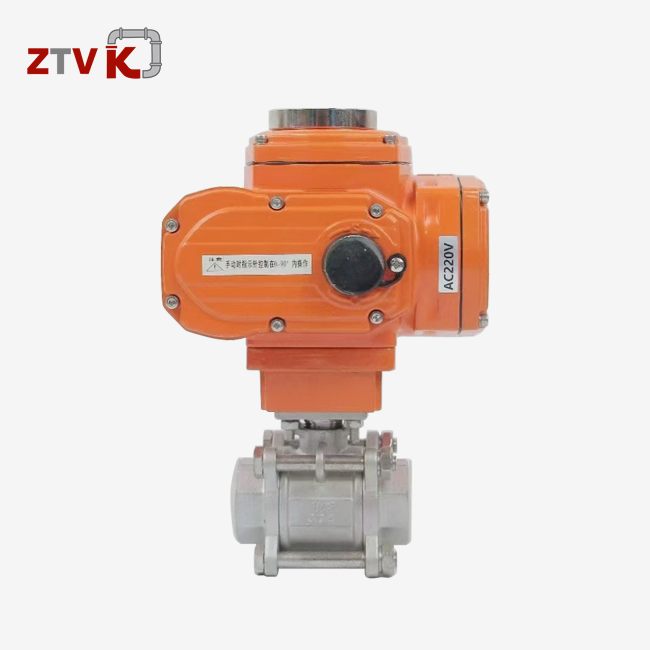
Modern watertight valves can be opened and closed in a number of different ways, depending on the needs of the place. For smaller sizes that are only used occasionally, manual hand levers work best. Worm gear operators, on the other hand, give bigger valves mechanical benefit without the need for external power. Pneumatic actuators let you control automated systems from a distance, which is especially useful in dangerous areas where people can't go. Electric motors allow for exact placement and work well with SCADA systems to keep an eye on things in real time. Choosing the right operator during procurement affects not only how hard it is to install but also how easy it is to do long-term maintenance and how well the system can handle emergencies.
Preparing for Installation: Key Considerations
Site Assessment and System Compatibility
Before working with any watertight valve, you should carefully check the pipeline to make sure that the flange sides are flat, clean, and free of rust pits that could stop the gasket from compressing properly. Check the diameter of the pipe bore against the flow passage of the valve to avoid cavitation or pressure loss caused by speed. Environmental factors are very important. For example, if the temperature at the installation site changes, the thermal expansion coefficients of the valve body and the pipes next to it must match up so that stress doesn't build up at the flanges. Groundwater chemistry needs to be taken into account more when installing things underground or in the ocean. Chloride-rich settings speed up the rusting of iron parts that aren't covered, so they need fusion-bonded epoxy (FBE) coatings that are at least 250 microns thick.
Essential Tools and Safety Protocols
For proper installation, you need more than just standard hand tools. To avoid both under-tightening (which leads to leaks) and over-tightening (which damages gaskets or warps flange surfaces), torque wrenches that are tuned to the valve's flange grade are used. For valves bigger than DN600, hydraulic torque tools make sure that the bolts are loaded evenly across the flange circle. Personal protective equipment that is rated for the system's operating pressure and media is part of the safety equipment. Lockout/tagout devices make sure that the pipeline segment is depressurized and shut off. According to U.S. regulations, following OSHA rules saves installation teams and creates proof of liability that procurement departments value when judging contractor performance.
Pre-Installation Inspection Checklist
When you unpack the valve as soon as it arrives, you can find any damage that happened during shipping that could affect the seating surfaces or actuator housings right away. A visual check should be done to make sure that the protective caps are still on the connection ports and that the package hasn't become wet. This is especially important for valves that come with sensitive electronics on pre-mounted electric actuators. Check the manufacturer's test certificates to make sure that the seat closure tests and hydrostatic shell tests (at 1.5x working pressure) met the requirements. ZTVK gives detailed records, like reports on the tracking of materials and the thickness of coatings, so quality assurance teams can make sure they are compliant before installation starts.
Step-by-Step Guide to Properly Installing a Watertight Valve
Pipeline Preparation and Cleaning
First, clean the pipeline section to get rid of any welding slag, rust scale, or building debris that might get stuck under the valve disc and stop it from closing all the way. Clean the flange sides with wire brushes or rough pads until you can see bare metal. Pay special attention to the gasket mounting grooves, where even small amounts of dirt can cause leaks. Check the alignment of the flange by running a straightedge across both joining surfaces. If the mismatch is more than 1.5 mm, the pipe usually needs to be moved, or tapered shims need to be used. Shims should be avoided as much as possible because they create stress concentration points.
To get accurate torque values during bolt-up, put a thin layer of a compatible lubricant on the threads of the fasteners after cleaning them (but never on the faces of the flanges or the gaskets). The grease lowers the differences in friction between bolts. This makes sure that torque is evenly converted into binding force instead of being used up by thread friction.
Valve Positioning and Gasket Installation
Wafer-type butterfly valves fit between flanges and don't need different sets of flanges, which saves room and weight. When you insert the disc, make sure the watertight valve is set up so that the disc is fully open. This lowers the cross-sectional profile and keeps the disc edge from getting damaged by accident. The flow direction arrow stamped on the body of the valve must line up with the flow direction of the system. However, ZTVK's bidirectional designs can work with either direction if that is what is requested during procurement. The installation diagram of the waterproof valve provides clear guidance for proper installation and alignment.
Before putting the valve between the two flanges, make sure that the gaskets are centered on both of them. EPDM seals work well in most water service situations because they don't crack easily and can handle temperatures from -40°C to +110°C. If the valve maker doesn't say to, don't use glue compounds on gasket surfaces. Many of these compounds react with elastomers and break them down too quickly. By hand, thread bolts through flange holes until they are finger-tight. Make sure that gaskets stay in place and don't stick out into the flow passage.
Fastener Tightening Sequence and Torque Specifications
To make the tightening force even around the valve, tighten the flange bolts in a star pattern (cross-pattern for four-bolt flanges, star for eight or more bolts). Start by applying 30% of the target torque to all the bolts. Then, slowly raise the torque until all of them are at 100%. By doing things slowly, the gasket can be compressed evenly, without any high-stress areas that could damage the seating area.
Target torque values depend on the type of material, the size of the bolt, and the pressure rating of the flange. As a general rule, M16 bolts need 90–110 Nm, M20 bolts need 180–220 Nm, and M24 fasteners need 300–360 Nm for PN16 flanges with carbon steel bolts. ZTVK gives out assembly guides that have force tables for valves that take into account the type of body material and gasket. When ductile iron flanges are over-torqued, they can crack, and when they are under-torqued, the faces of the flanges can separate during pressure cycling. This can cause leaks and failure before they should.
Post-Installation Testing and Commissioning
Once the bolts are tightened, look to make sure that no gasket material has pushed into the valve hole. Gasket lines that can be seen can mean that the valve is over-compressed, which could block flow. Make sure the valve works smoothly by moving it from open to closed and back again several times without applying any pressure. Also, make sure the disc doesn't get stuck on the pipe or seal material.
Use water or compressed air at 20 to 30 percent of the working pressure to do a low-pressure leak test. Keep an eye on all of the flange joints, stem packing, and actuator contacts for signs of leaks. If leaks show up, don't increase the bolt torque right away. Instead, make sure the gasket is in place and the flange faces stay parallel. Once low-pressure testing shows that the integrity is good, slowly raise the pressure until it reaches the rated working pressure and hold for the amount of time stated in the project specs, which is usually at least 30 minutes. When the pressure is full, there is no leakage, which means the placement is correct and the system can go into business.
Maintenance and Troubleshooting for Longevity
Routine Maintenance Schedules
Watertight valves that are in ongoing service should be inspected every six months. On the other hand, valves that are in backup duty (like in emergency isolation applications) should be used every three months to keep the seats from bonding and make sure they are ready to go. Lubricating the stem threads and actuator gears stops corrosion and lowers the force needed for operation. Only use oils that are safe for the seat material. Greases made from petroleum can damage EPDM and NBR, but silicone or fluorinated greases are safe for most elastomers. Installation Diagram of the Waterproof Valve.
Every year, check the stem packing by watching for tears around the packing gland while the valve is under pressure. A few drops of seepage over several hours is fine for many uses, but constant dripping means the packing is worn out and needs to be adjusted or replaced. Seat replacement times depend on how hard the job is. For example, a seat can last for 10-15 years in clean water service, but it needs to be replaced every 3–5 years in abrasive slurries or high-cycle situations. ZTVK sells replacement seat kits that come with installation instructions. This lets field maintenance teams fix up valves without having to send them back to the factory.
Common Failure Modes and Troubleshooting
Leaks past the seat when it's closed are usually caused by things stuck on the surface of the seat, not by wear and tear on the seat itself. Opening and closing the valve several times while fluid is running can loosen particles. If the leak keeps happening, the valve needs to be taken off, and the seat needs to be inspected. External leakage at flanges after months or years of use is usually a sign of gasket compression set, which means the gasket has permanently changed shape and can't go back to its original shape to fill in surface imperfections. Retorquing the nuts might help for a short time, but replacing the seal is the only way to fix the problem for good.
If the operating torque goes up, it could mean that the stem packing is too tight and binding on the stem, the disc isn't lined up right, the edge is touching the valve body, or corrosion products are building up on the stem or disc shaft. Take apart the link between the actuator and the stem and turn it by hand to find out if the resistance is coming from the actuator or the valve. When valves aren't used very often, corrosion-induced binding can happen. This situation can be avoided by starting an exercise routine every three months. When fixes happen a lot or cost close to 60% of the cost of a new valve, procurement should start planning for a replacement so that breakdowns don't happen out of the blue.
Conclusion
To install watertight valves correctly, you need to pay attention to getting the pipeline ready, choosing the right gasket, tightening the bolts in a planned way, and trying the whole system after installation. These steps make sure that the valve works as it should, with no leaks under both high pressure inside and low pressure outside. When purchasing valves, procurement teams have to weigh the initial cost against the performance over the product's lifetime, giving preference to suppliers with strong quality systems, extensive technical support, and flexible delivery options. Regular maintenance and quick troubleshooting make valves last longer and reduce unplanned downtime that slows down operations and raises costs.
FAQ
1. How often should watertight valves be inspected?
How often you inspect depends on how the service is doing. Continuous-duty watertight valves in potable water systems should be inspected every six months to check on their outward state, change their packing, and make sure they are working properly. Standby valves, like those used for emergency isolation, need to be tested every three months to make sure they are ready and to keep the seats from bonding. When something is in a harsh environment, like an ocean, high temperatures, or rough media, it needs to be inspected more often, every three months, to find early signs of rust or wear.
2. Can watertight valves be retrofitted into existing systems?
When changing gate or ball valves with the same flange grade, retrofitting is usually easy. Wafer-type butterfly valves make the process easier because they fit between existing flanges, so you don't need to buy extra flange sets or make changes to the pipes. To avoid making changes to the pipes, make sure that the face-to-face size of the new valve fits the size of the valve that was taken out. Before installing flanged watertight valves, systems that were originally made with threaded connections may need to have flange adapters welded in place.
3. What are the early warning signs of valve failure?
The most obvious sign is leakage that can be seen at the seat or flanges, but less obvious signs show up earlier. If the working force goes up, it means that the stem is binding or the seat is not aligned properly. Noises that aren't normal during operation, like rattling or grinding, can be caused by internal parts that are loose or cavitation from bad sizing. Corrosion on the outside of the valve body or actuator, especially in coated valves, means that the coating is failing, which will speed up the wear and tear if not fixed.
Partner with ZTVK for Reliable Watertight Valve Solutions
Since 2009, ZTVK's Tianjin Beichen factory has been making high-integrity butterfly valves for industrial distributors, city builders, and original equipment manufacturers (OEMs) all over the world. Our line of watertight valves has ductile iron bodies with precisely machined seating surfaces, reversible EPDM seats that have been tested to ISO 5208 Rate A standards, and IP68-rated actuator units that can be used in underwater installs. We keep more than 2,000 standard-sized units in stock, which means that urgent projects can be delivered in 3–7 days. For custom solutions, like OEM branding and choosing the right material for the job, our engineering team needs 15–25 days.
We are only 50 km from Tianjin Port and have formed partnerships with major shipping lines to provide reliable global logistics. Our FOB Xingang prices are also very affordable. Our ISO 9001 quality system makes sure that before it is shipped, every valve goes through hydrostatic testing and seat closing verification. Full proof of the material traceability is also given. As a reliable company that makes watertight valves, we help dealers choose the right ones by giving them expert support, CAD models, and an 18-month guarantee that covers both problems with the manufacturing process and helps with installation.
Email our technical sales team at ktec86961886@163.com to talk about your specific application needs, get price quotes for large orders, or set up an audit of the factory by a third party.
References
1. American Water Works Association. AWWA Manual M49: Butterfly Valves: Torque, Head Loss, and Cavitation Analysis. Denver: AWWA, 2012.
2. International Organization for Standardization. ISO 5208:2015 Industrial Valves — Pressure Testing of Metallic Valves. Geneva: ISO, 2015.
3. Smith, Peter R., and Thomas J. Zaworski. Valve Selection Handbook: Engineering Fundamentals for Selecting the Right Valve Design for Every Industrial Flow Application. 5th ed. Houston: Gulf Publishing, 2004.
4. British Standards Institution. BS EN 593:2017 Industrial Valves — Metallic Butterfly Valves for General Purposes. London: BSI, 2017.
5. Lyons, Jerry L., and Charles E. Askland. Pipeline Valves: A Practical Guide to Maintenance and Operations. Houston: Clarion Technical Publishers, 2018.
6. Nesbitt, Brian. Handbook of Valves and Actuators: Valves Manual International. Oxford: Elsevier Science, 2007.
Send us your valve requirements and our team will provide professional solutions and fast quotations.
RELATED INDUSTRY KNOWLEDGE